
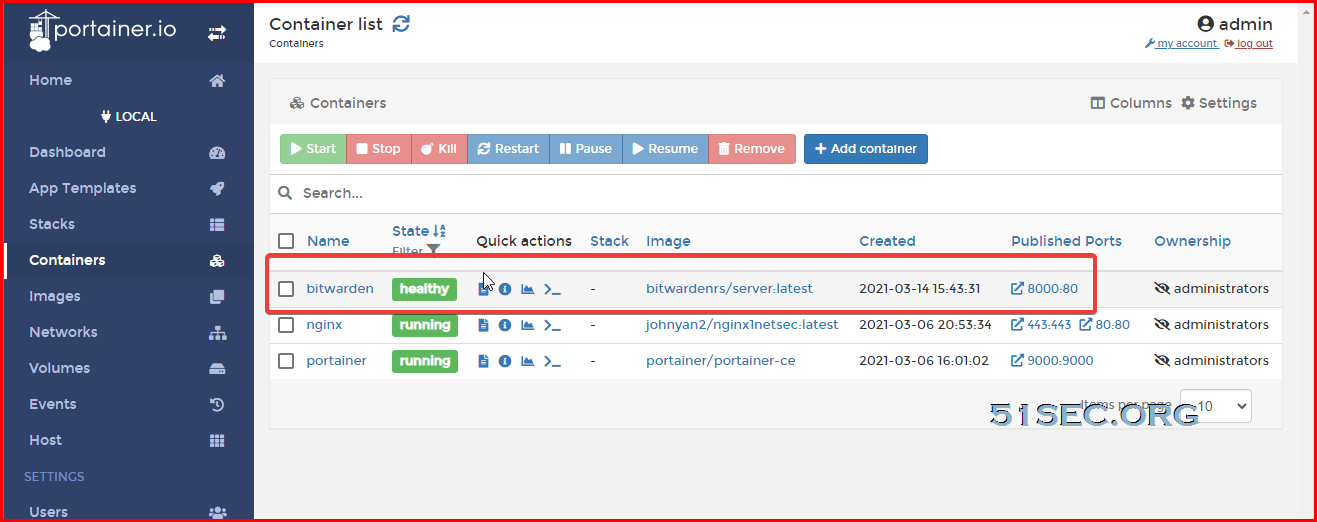
There are lots of considerations during designing your CyberArk PAS (Privileged Access Security) solutions. I summarized those thoughts in my mind into this video. And for sure, it is not a full list. I do have a post updating for those considerations: https://ift.tt/2OYqBRm Those are just for a small / medium deployment, not even thinking about more complicated environment, such as DR, HA, Load Balancing, Test/Dev/Prod separations, etc. Please send me some of your thoughts which you think I am missing. I will put them into my post. For other CyberArk PAS related videos, here are two playlists: 1. CyberArk (Version before 12.0) - https://www.youtube.com/watch?v=40Mi_wZr2fk&list=PLg7bL1bMpwPWNr2LzAnoK995sbWUbcotS 2. CberArk version 12: https://www.youtube.com/watch?v=jPLphzIKzyE&list=PLg7bL1bMpwPWNTJdY4-NOQItypI0tfwH3 ==================================================================== If you found this video has some useful information, please give me a thumb up and subscribe this channel to get more updates: https://www.youtube.com/c/Netsec?sub_confirmation=1 Learning and Sharing - 海内存知己,天涯若比邻 - http://51sec.org
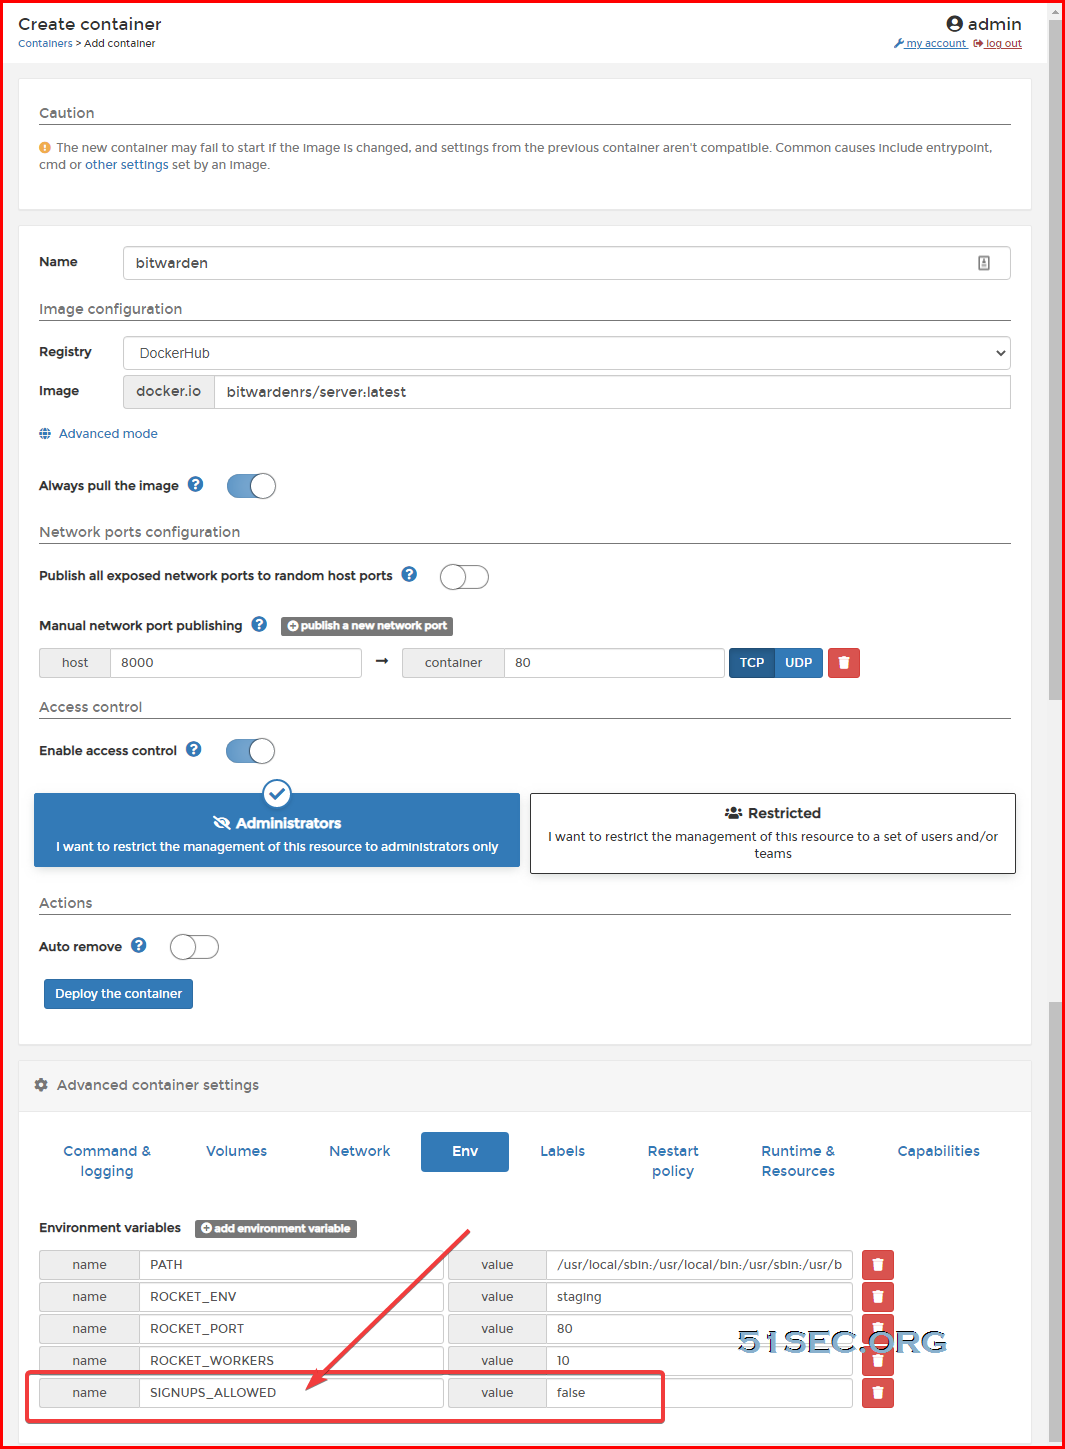
Watch video on YouTube here: https://youtu.be/jPLphzIKzyE by Johnny Netsec
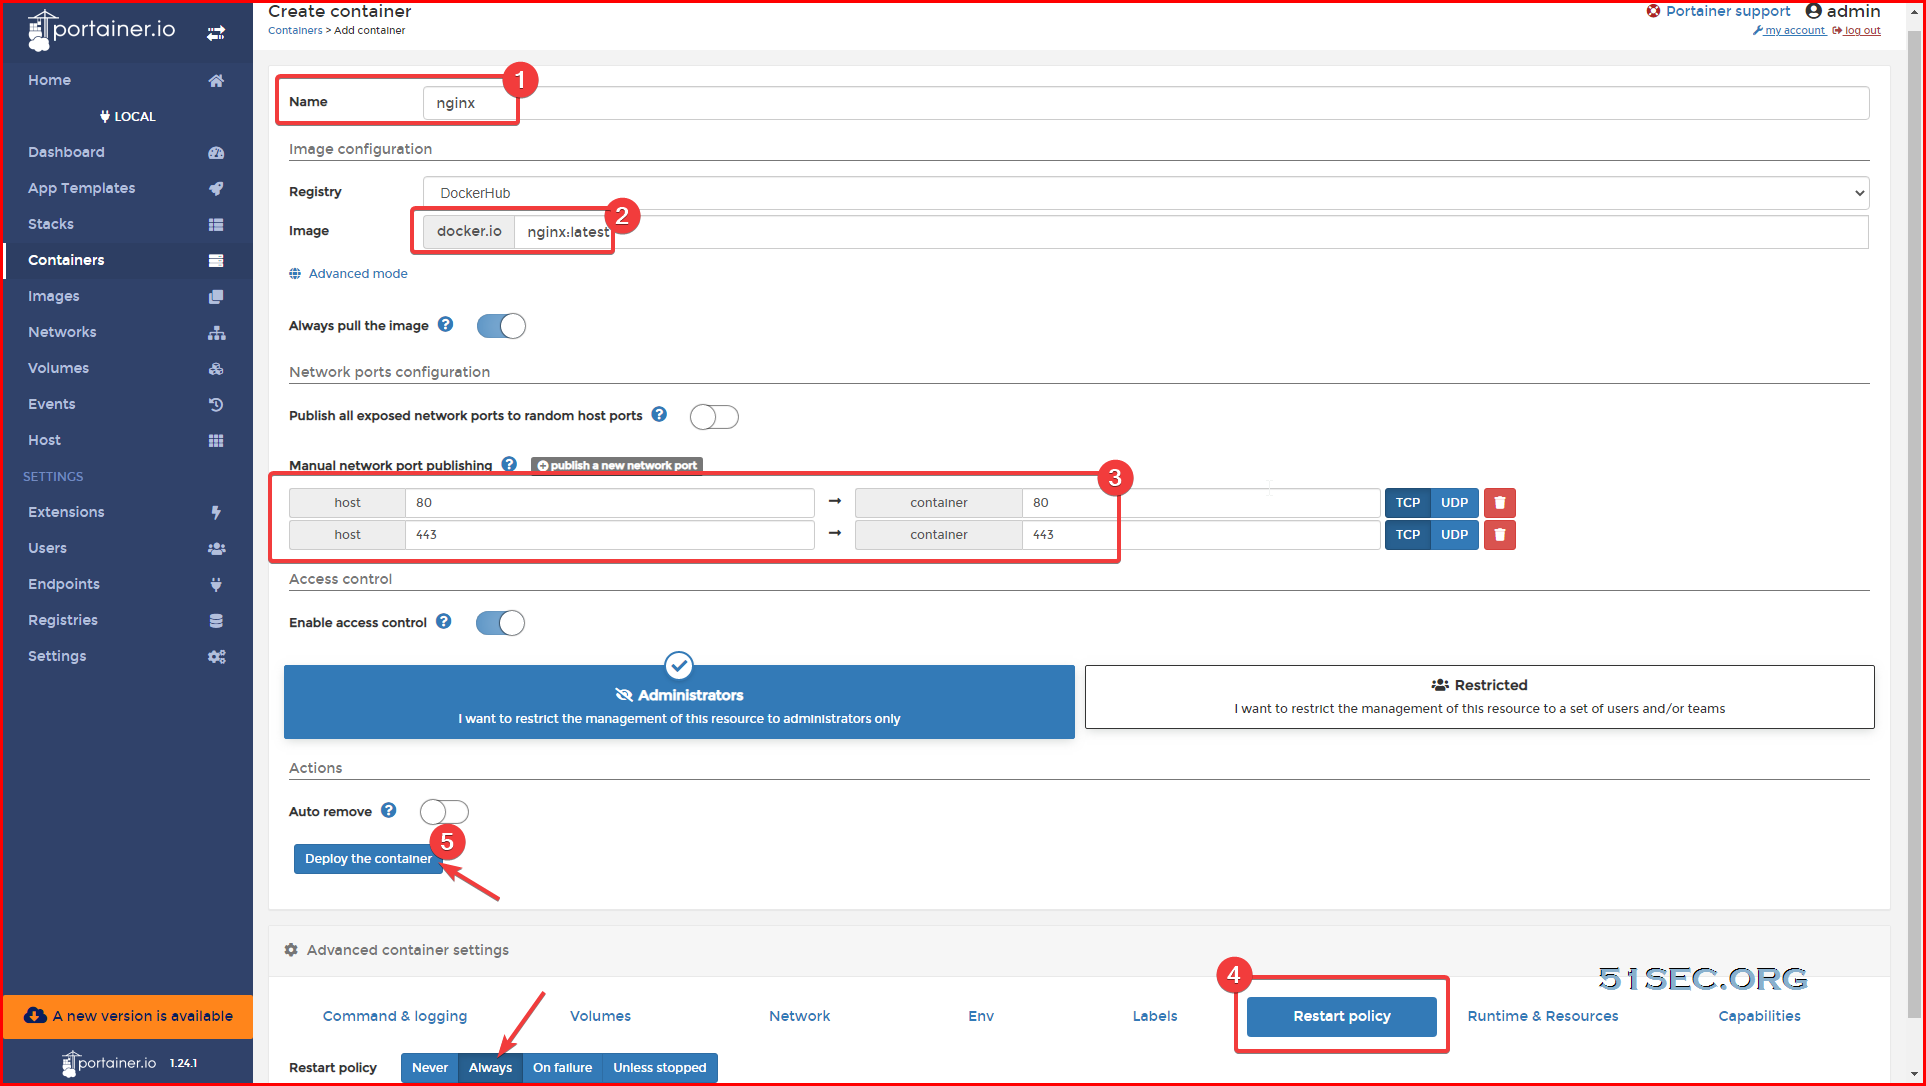
Watch video on YouTube here: https://youtu.be/jPLphzIKzyE by Johnny Netsec


 RSS Feed
