
Docker is a technology that allows you to build, run, test, and deploy distributed applications that are based on Linux containers. Docker is already available on many different operating systems, including most modern Linux distributions, like Ubuntu, and even Mac OSX and Windows.If you are using Amazon EC2 already, you can launch an instance and install Docker to get started.
Youtube Video:
Youtube Video:
Steps to install docker in AWS
1. Launch AMI EC2 Instance
2. xshell SSH into EC2
3. Update the installed packages and package cache on your instance.
sudo yum update -y4. Remove previous version's docker
sudo yum remove docker \5. Install the most recent Docker Community Edition package.
docker-client \
docker-client-latest \
docker-common \
docker-latest \
docker-latest-logrotate \
docker-logrotate \
docker-selinux \
docker-engine-selinux \
docker-engine
sudo yum install docker6. Start the Docker service.
sudo service docker start7. Add the
ec2-user to the docker group so you can execute Docker commands without using sudo.sudo usermod -a -G docker ec2-user8.Log out and log back in again to pick up the new
docker group permissions. Or just a simple reboot your EC2 instanceExit
9. Run Command in the Docker Container
docker exec -it ubuntu /bin/bash
Steps to launch Wordpress Image in EC2
1. Pull Image from tutum/wordpress
docker run -d -p 80:80 tutum/wordpress
2. Run WordPress image
docker run -d --name=wp1 -p 80:80 -p 443:443 tutum/wordpress
3. Show running container list
docker ps
4. Test launched wp1 container curl http://localhost/
5. Use browser to complete famous WordPress configuration wizard
Steps to migrate WordPress
1. Make sure Wordpress Version is same
2. If not, update to same version from WordPress admin page. Sometime, it does not work, you might have to do a manual update just as I did.
Here is the error message I got :
Downloading update from https://downloads.wordpress.org/release/wordpress-5.0.3-new-bundled.zipUnpacking the update…
The update cannot be installed because we will be unable to copy some files. This is usually due to inconsistent file permissions.: wp-admin/includes/update-core.php
Installation Failed
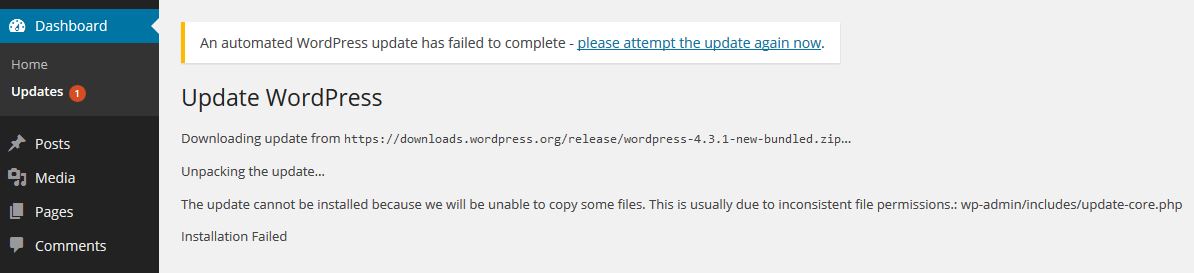
|
| WordPress Update Error Example |
- Enter command line of docker container : docker exec -it wp1 /bin/bash
- Get the latest WordPress zip (or tar.gz) file. (sudo wget https://wordpress.org/latest.zip)
- Unpack the zip file that you downloaded.
- Deactivate plugins.
- Delete the old
wp-includesandwp-admindirectories on your web host - move the new
wp-includesandwp-admindirectories to your web host, in place of the previously deleted directories. - Upload the individual files from the new
wp-contentfolder to your existingwp-contentfolder, overwriting existing files. Do NOT delete your existingwp-contentfolder. Do NOT delete any files or folders in your existingwp-contentdirectory (except for the one being overwritten by new files).
sudo apt-get install wget
sudo wget https://downloads.wordpress.org/release/wordpress-5.0.3.zip

unzip wordpress-5.0.3.zip -d /tmp
apt-get install unzip
unzip wordpress-5.0.3.zip -d /tmp

cd /tmp
ls
cd wordpress/
ls
cd /app
ls
rm wp-admin

rm -r wp-admin
rm -r wp-includes/
ls -l

mv /tmp/wordpress/wp-admin .

ls -l
mv /tmp/wordpress/wp-includes/ .
ls
cp /tmp/wordpress/* .
cp -a /tmp/wordpress/wp-content/* wp-content/
Once you complete those commands, you can launch the WordPress page again by entering the public ip address of your EC2 instance. You will be prompted to upgrade mysql database. Just click yes to continue.
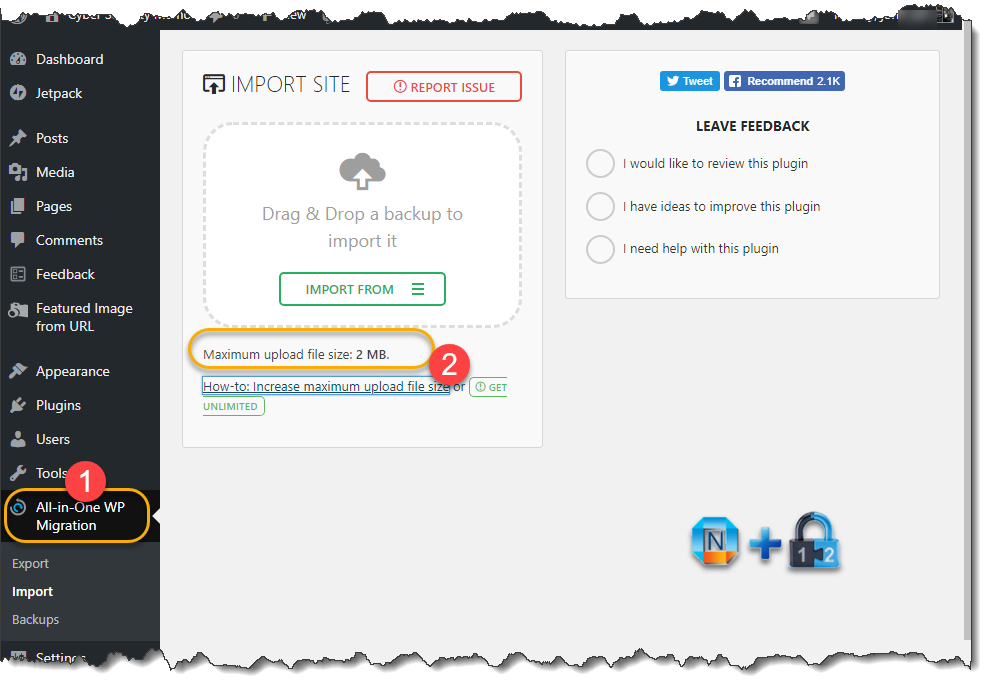
3. Export your Existing WordPress site through plug-in: All-in-One WP Migration to local file.
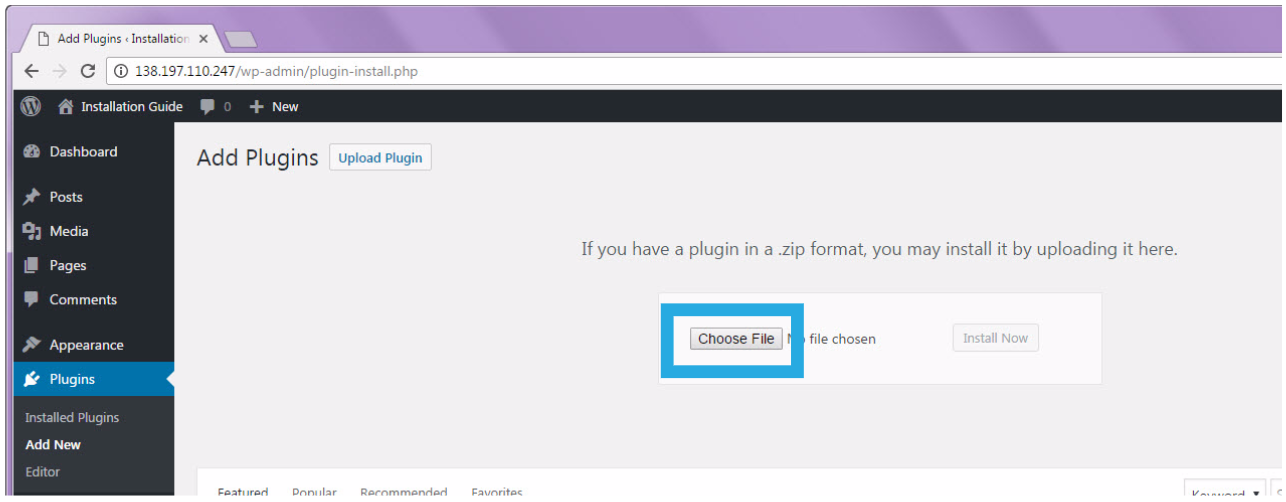
4. Install plug-in: All-in-One WP Migration into your new WordPress site. But it has file upload limitation.
6. After imported your exported file, there are still a couple of steps to do to complete whole migration.
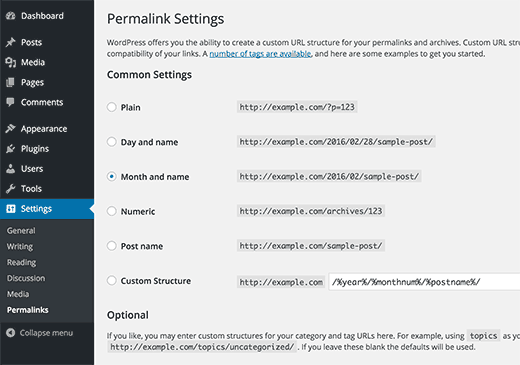
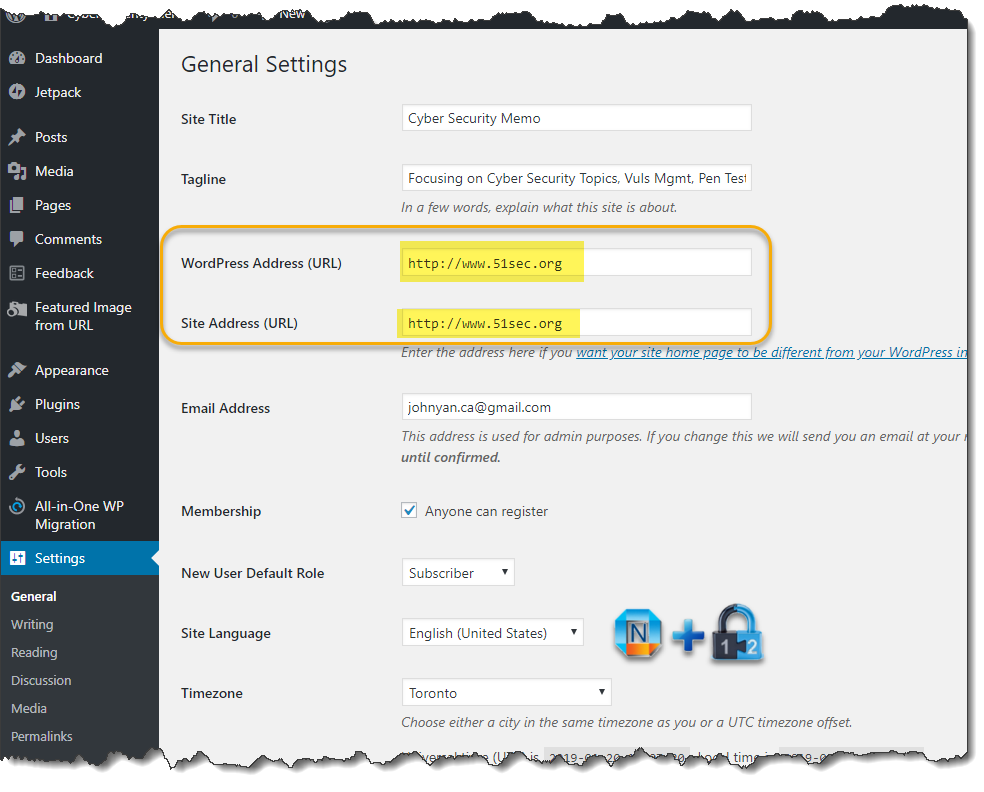
6.1 Settings -> Permalinks. It is best to change to something else for your Permalink Settings and save, then change it back to what you original set up and save.
Notes :
Docker Commands:
1.service docker start //启动docker
2.docker info //查看docker信息
3.docker run ubuntu echo hello docker //输出hello docker
4.docker images //查看所拥有的镜像
5.docker pull //获取images
6.docker build //创建image
7.docker run //运行container
8.docker ps //列出container
9.docker rm //删除container
10.docker rmi //删除image
11.docker cp //在host和container之间拷贝文件
12.docker commit -m ‘提交描述’ 容器id 名称 //生成当前节点的新images
13.docker search 名称 //搜索镜像
14.docker pull 名称 //拉取镜像
15.docker push myname/名称 //上传镜像
Enable SSH in Docker:
Start a new CentOS container:
docker run -it --name=sample centos /bin/bashIf you try ssh localhost, you will get following error:
bash: ssh: command not foundNow here are steps to show you how to get 'ssh localhost' working:
1、yum install openssh-server
2、yum install openssh-clients
这时候再试一下ssh localhost,发现错误改变:
ssh: connect to host localhost port 22: Cannot assign requested address
说明sshd服务还没有开启。用ps -ef也可以验证这一点。
由于是docker里面的centos,所以service和systemctl都不好用。
尝试手动运行/usr/sbin/sshd
报如下错误:
1、Could not load host key: /etc/ssh/ssh_host_rsa_key
2、Could not load host key: /etc/ssh/ssh_host_ecdsa_key
3、Could not load host key: /etc/ssh/ssh_host_ed25519_key
4、sshd: no hostkeys available -- exiting.
手动执行/usr/sbin/sshd-keygen -A
再执行/usr/sbin/sshd成功。
为了免密码本机跳本机,执行如下命令:
1、ssh-keygen -t rsa -P '' -f ~/.ssh/id_rsa
2、cat ~/.ssh/id_rsa.pub >> ~/.ssh/authorized_keys
3、chmod 0600 ~/.ssh/authorized_keys
至此,执行ssh localhost就能成功。
References:
 RSS Feed
