
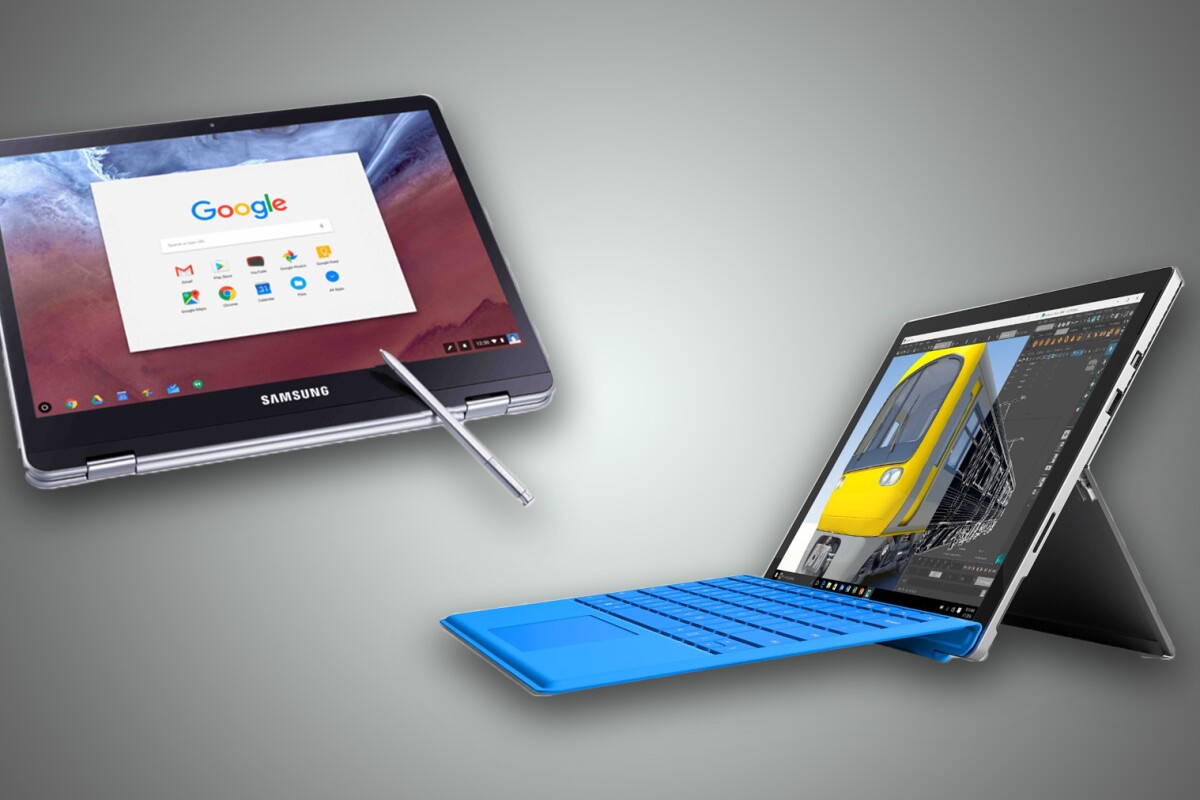
This post is used to record the steps how I changed my Surface Pro from Windows to those ChromeOS like systems. The Surface Pro 7 original OS is Windows 10, and upgrade to Windows 11. For fun, I am switching it to *NIX OS to se how it looks like.
What you need
- Disable Secure Boot from Surface Pro
- Enable USB boot
- A USB flash drive with enough capacity for your Zorin OS edition:
- at least 8 GB
- An external drive or cloud storage for backup of your data. All data will be wiped off from Surface Pro's hard drive. (optional)
Zorin OS
|
PRO |
CORE | LITE | |
|---|---|---|---|
| LibreOffice suitecompatible with Microsoft Office/365 documents | ✔ | ✔ | ✔ |
| Advanced desktopbased on GNOME | ✔ | ✔ | |
| Lightweight desktopbased on XFCE | ✔ | ✔ | |
| Zorin Connectlink your phone and computer together | ✔ | ✔ | |
| Standard desktop layoutsin Zorin Appearance | ✔ | ✔ | ✔ |
| Premium desktop layoutsmacOS, Windows 11 & Classic, and Ubuntu | ✔ | ||
| Professional-grade creative suite of apps | ✔ | ||
| Advanced productivity software | ✔ | ||
| Additional artworkcurated collection of abstract wallpapers | ✔ | ||
| Zorin Installation Support | ✔ |
Download your Zorin OS .iso file
Create a bootable USB Install Drive
- Plug the USB flash drive into your computer.
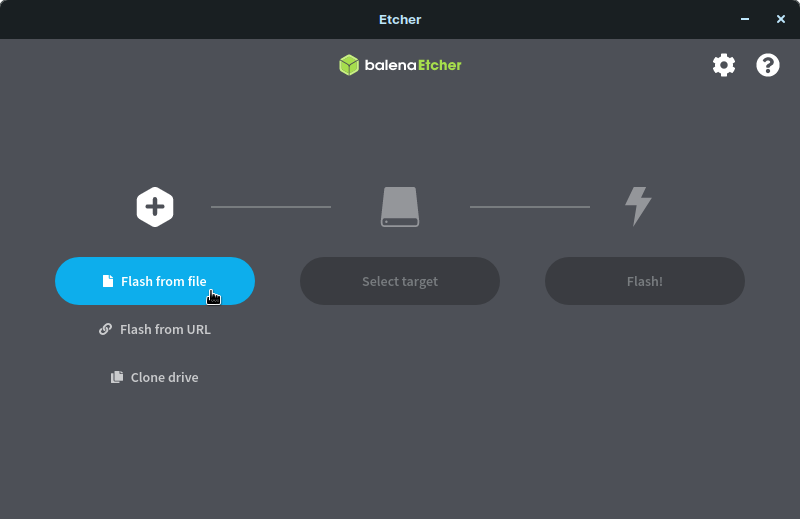
- Double-click on the balenaEtcher download file to run the app.
- On Linux. If the balenaEtcher app doesn’t open after double-clicking on it, you may need to mark its downloaded “.AppImage” file as executable. To do so, right-click on the file in the file browser and open its Properties. Navigate to the Permissions section to enable the “Allow executing file as program” option.
- Press “Flash from file” to select the downloaded Zorin OS .iso file on your computer. The file should be in your “Downloads” folder.
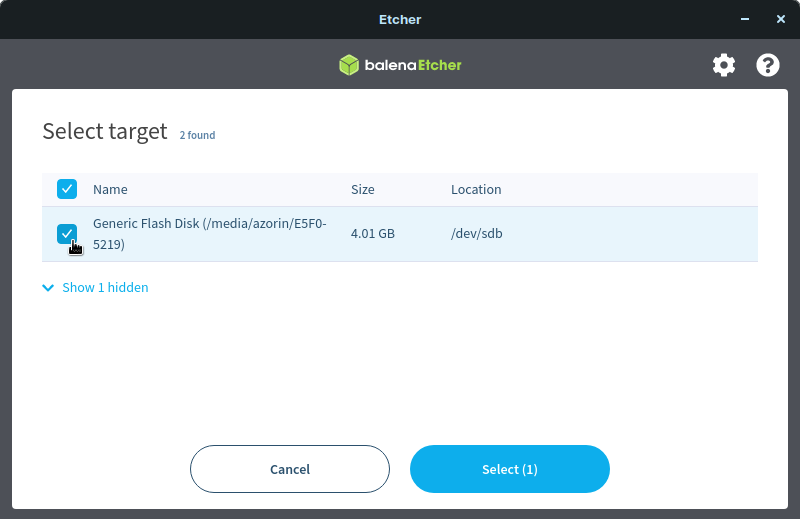
- Press “Select target” and choose the correct USB flash drive in the list.
- Press “Flash!” to begin writing Zorin OS to the USB flash drive.
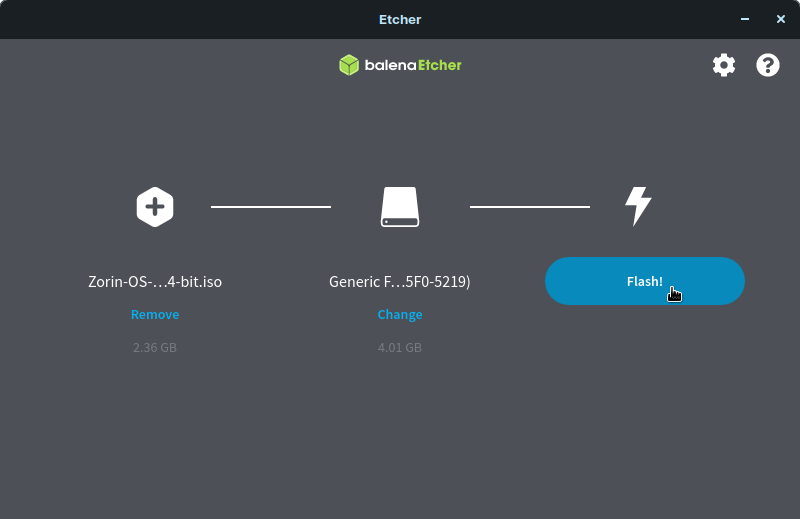
- After a few minutes, the USB flash drive will be ready for booting into Zorin OS.


Boot from the USB Install Drive
-
Switch off the computer you want to install Zorin OS onto. Make sure it’s completely powered off, and not in sleep or hibernate mode.
-
Plug the Zorin OS USB Install Drive into the computer.
-
Switch on the computer. Immediately at start-up, repeatedly press the designated key to open the Boot Device Menu.
- On a PC. This key should be indicated on the screen at start-up or in your computer’s manual. If you’re unsure which key to press, it is usually either Esc, Delete, F2, F12, or another function key.
- On a Mac. Press and hold the ⌥ Option key at start-up. If you’re using a wireless keyboard, you may need to plug in a USB keyboard instead to be able to select the boot device.
-
At the Boot Device Menu, use the arrow keys to highlight the option which mentions “USB”, “EFI”, or the flash drive manufacturer’s name. Press Enter to boot from the Install Drive.
- On a Mac. Sometimes the Install Drive might be incorrectly identified as “Windows”, which is normal.
-
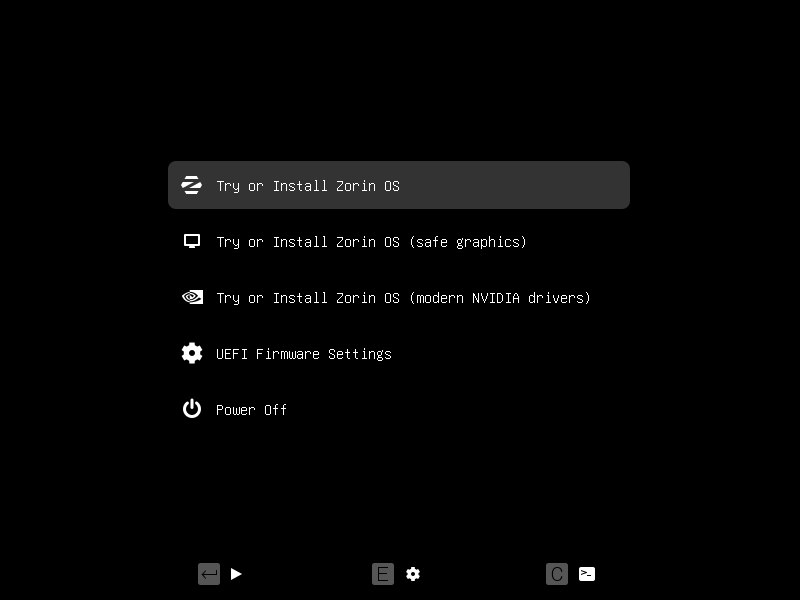
Select the “Try or Install Zorin OS” option in the Zorin OS boot selection menu using the Enter key.
- If your computer has a modern NVIDIA graphics card (produced after 2013). You can select the “Try or Install Zorin OS (modern NVIDIA drivers)” option using the ↓ ↑ keys. Press Enter to boot and install with the official NVIDIA proprietary graphics drivers.
-
While booting, Zorin OS will check the USB Install Drive to ensure there aren’t any defects. We recommend that you do not skip this check the first time you use the USB Install Drive. It helps prevent issues while installing Zorin OS to your computer.

Install your new copy of Zorin OS
- Follow the on-screen instructions to start the installation.
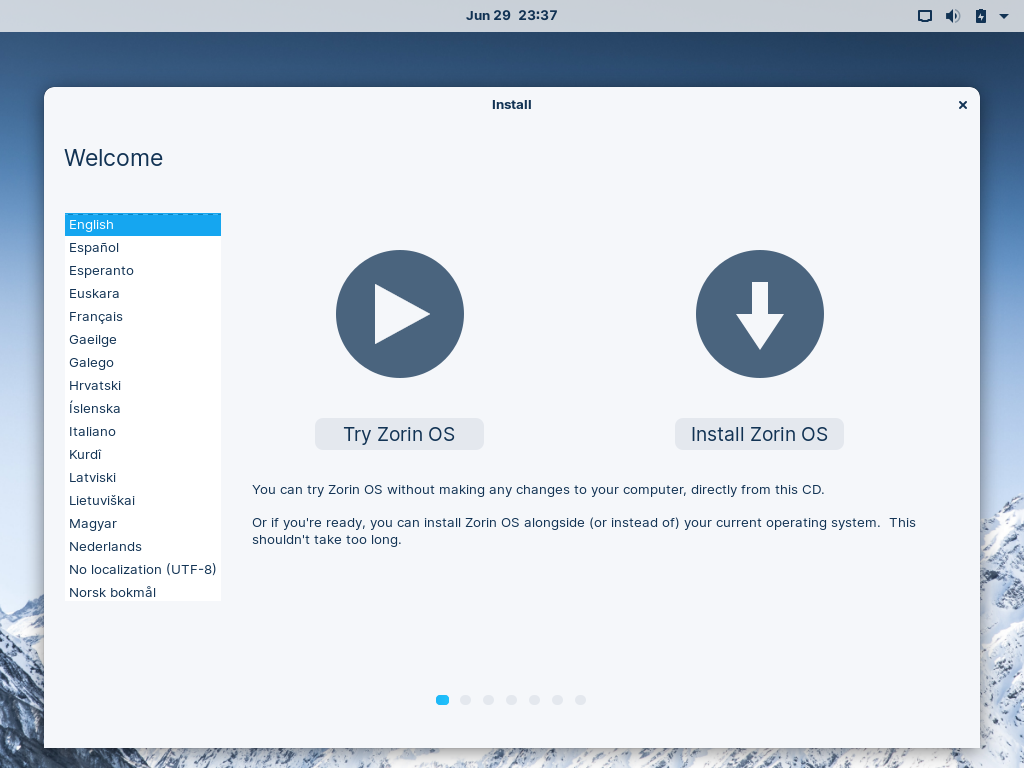 TipBy selecting the Try Zorin OS option, you can test drive Zorin OS before installing it to your computer. Please note that the system will run slower from a USB flash drive than when it's installed on the computer.
 - When prompted by the installer, please connect to the Internet (if possible). This makes sure all necessary software gets downloaded during the installation process.
- You should reach a step titled “Installation type”.
- If you want to keep your current operating system installed alongside Zorin OS (dual-boot). Select the “Install Zorin OS alongside [your current operating system]” option and press “Continue” to choose how much space to allocate to Zorin OS. If this option didn’t appear for you, see the “Manual partitioning” instructions below.
- If you want to have only Zorin OS installed on your computer. Select the “Erase disk and install Zorin OS” option and press “Install Now”. Use this option to enable advanced features like disk encryption and LVM.
- Manual partitioning. If your computer has a non-standard storage drive configuration (such as multiple internal hard drives/SSDs), select the “Something else” option and press “Continue”. You can learn how to use this option in this article ›
- Continue following the on-screen instructions to complete the installation.
- After the installation completes, restart the computer to boot into your installed copy of Zorin OS.

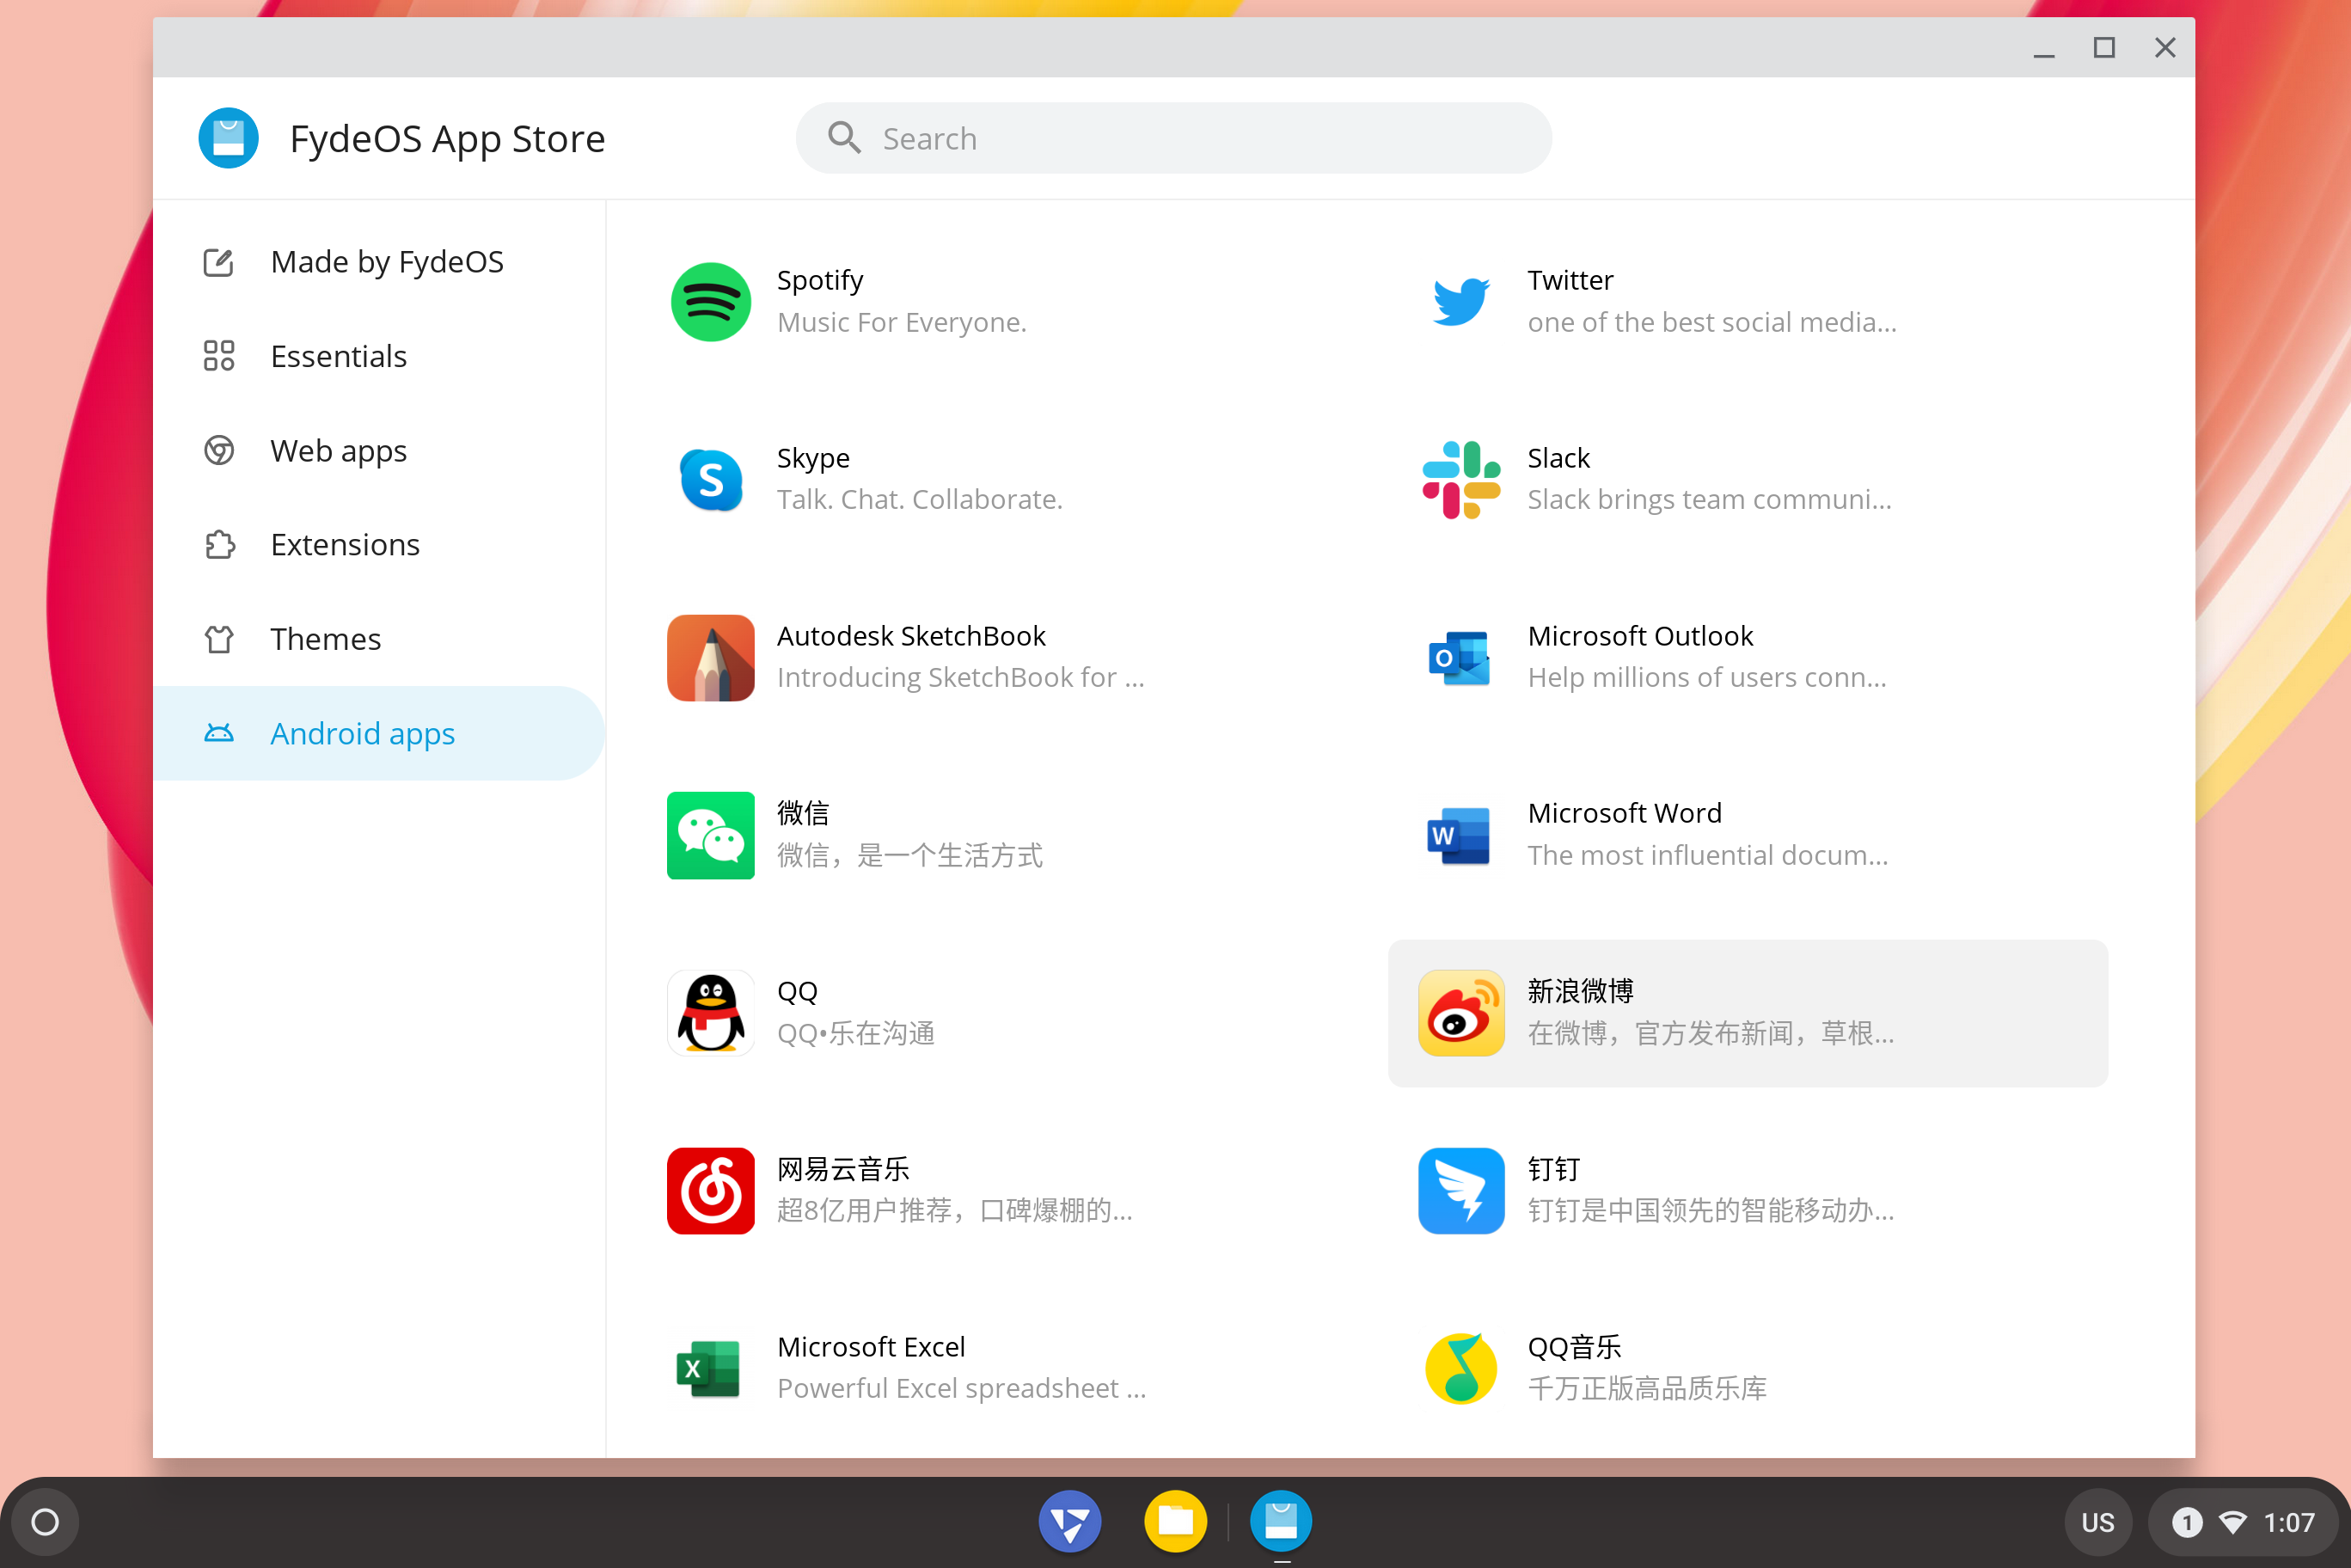
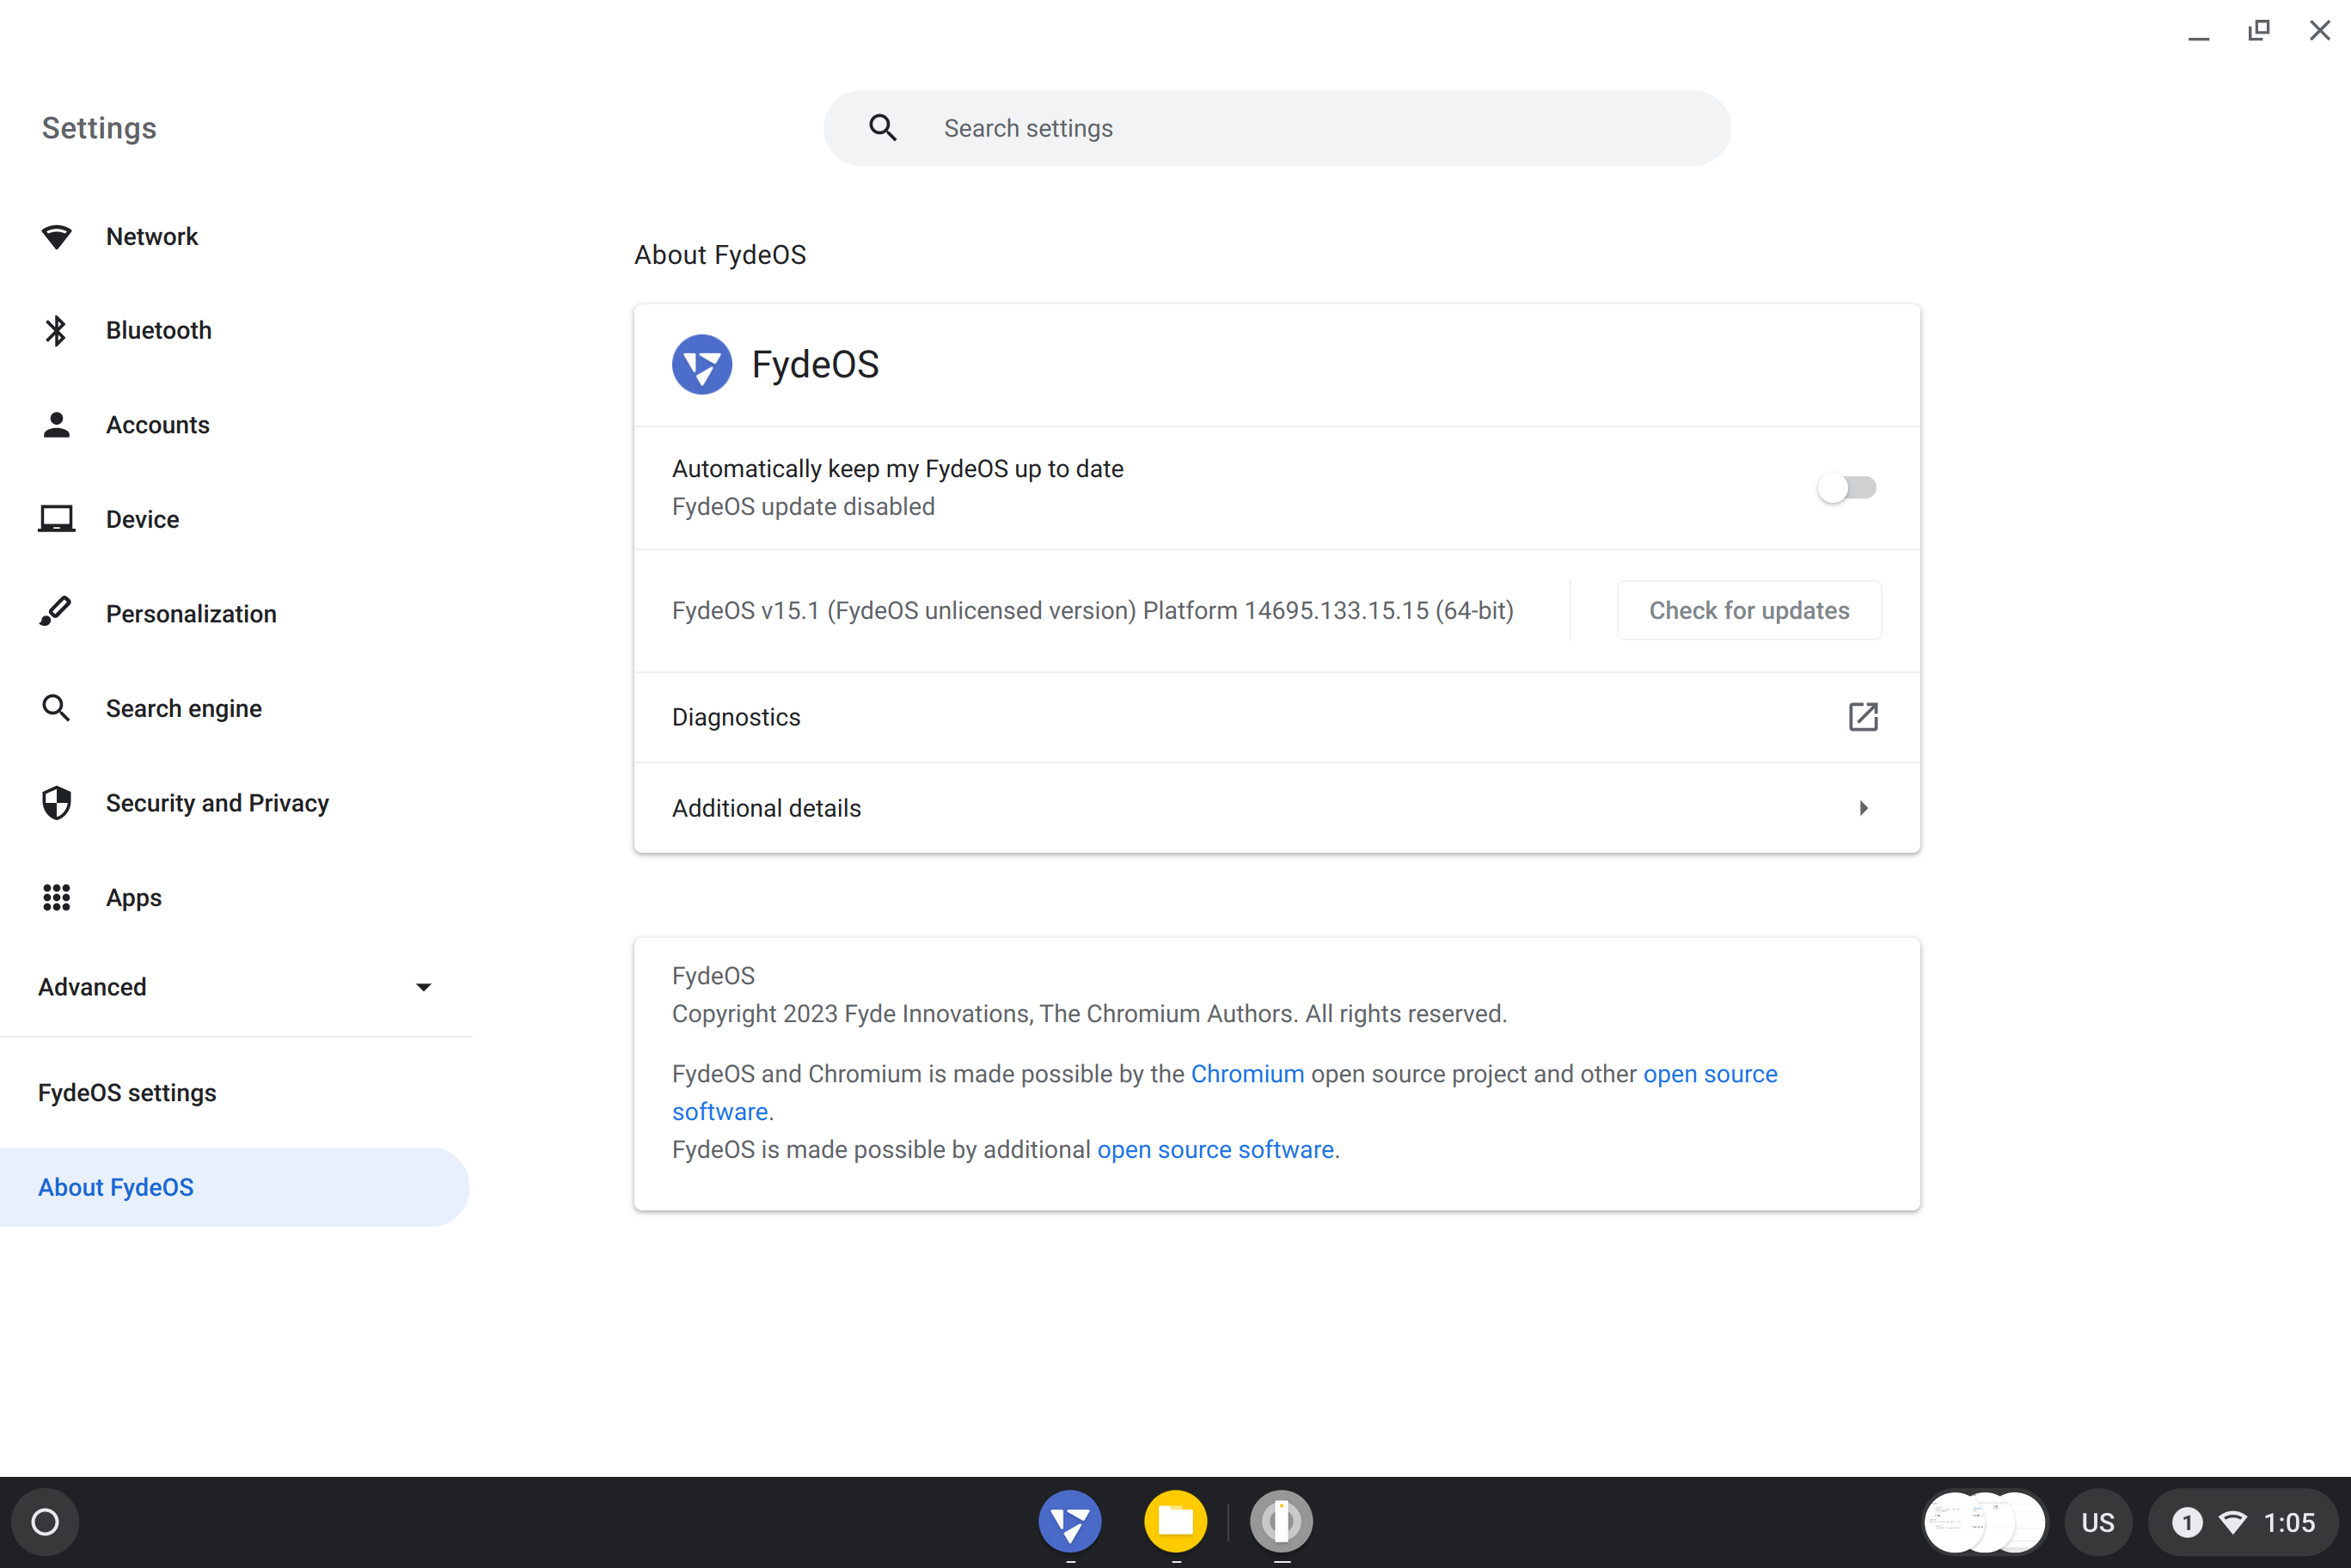
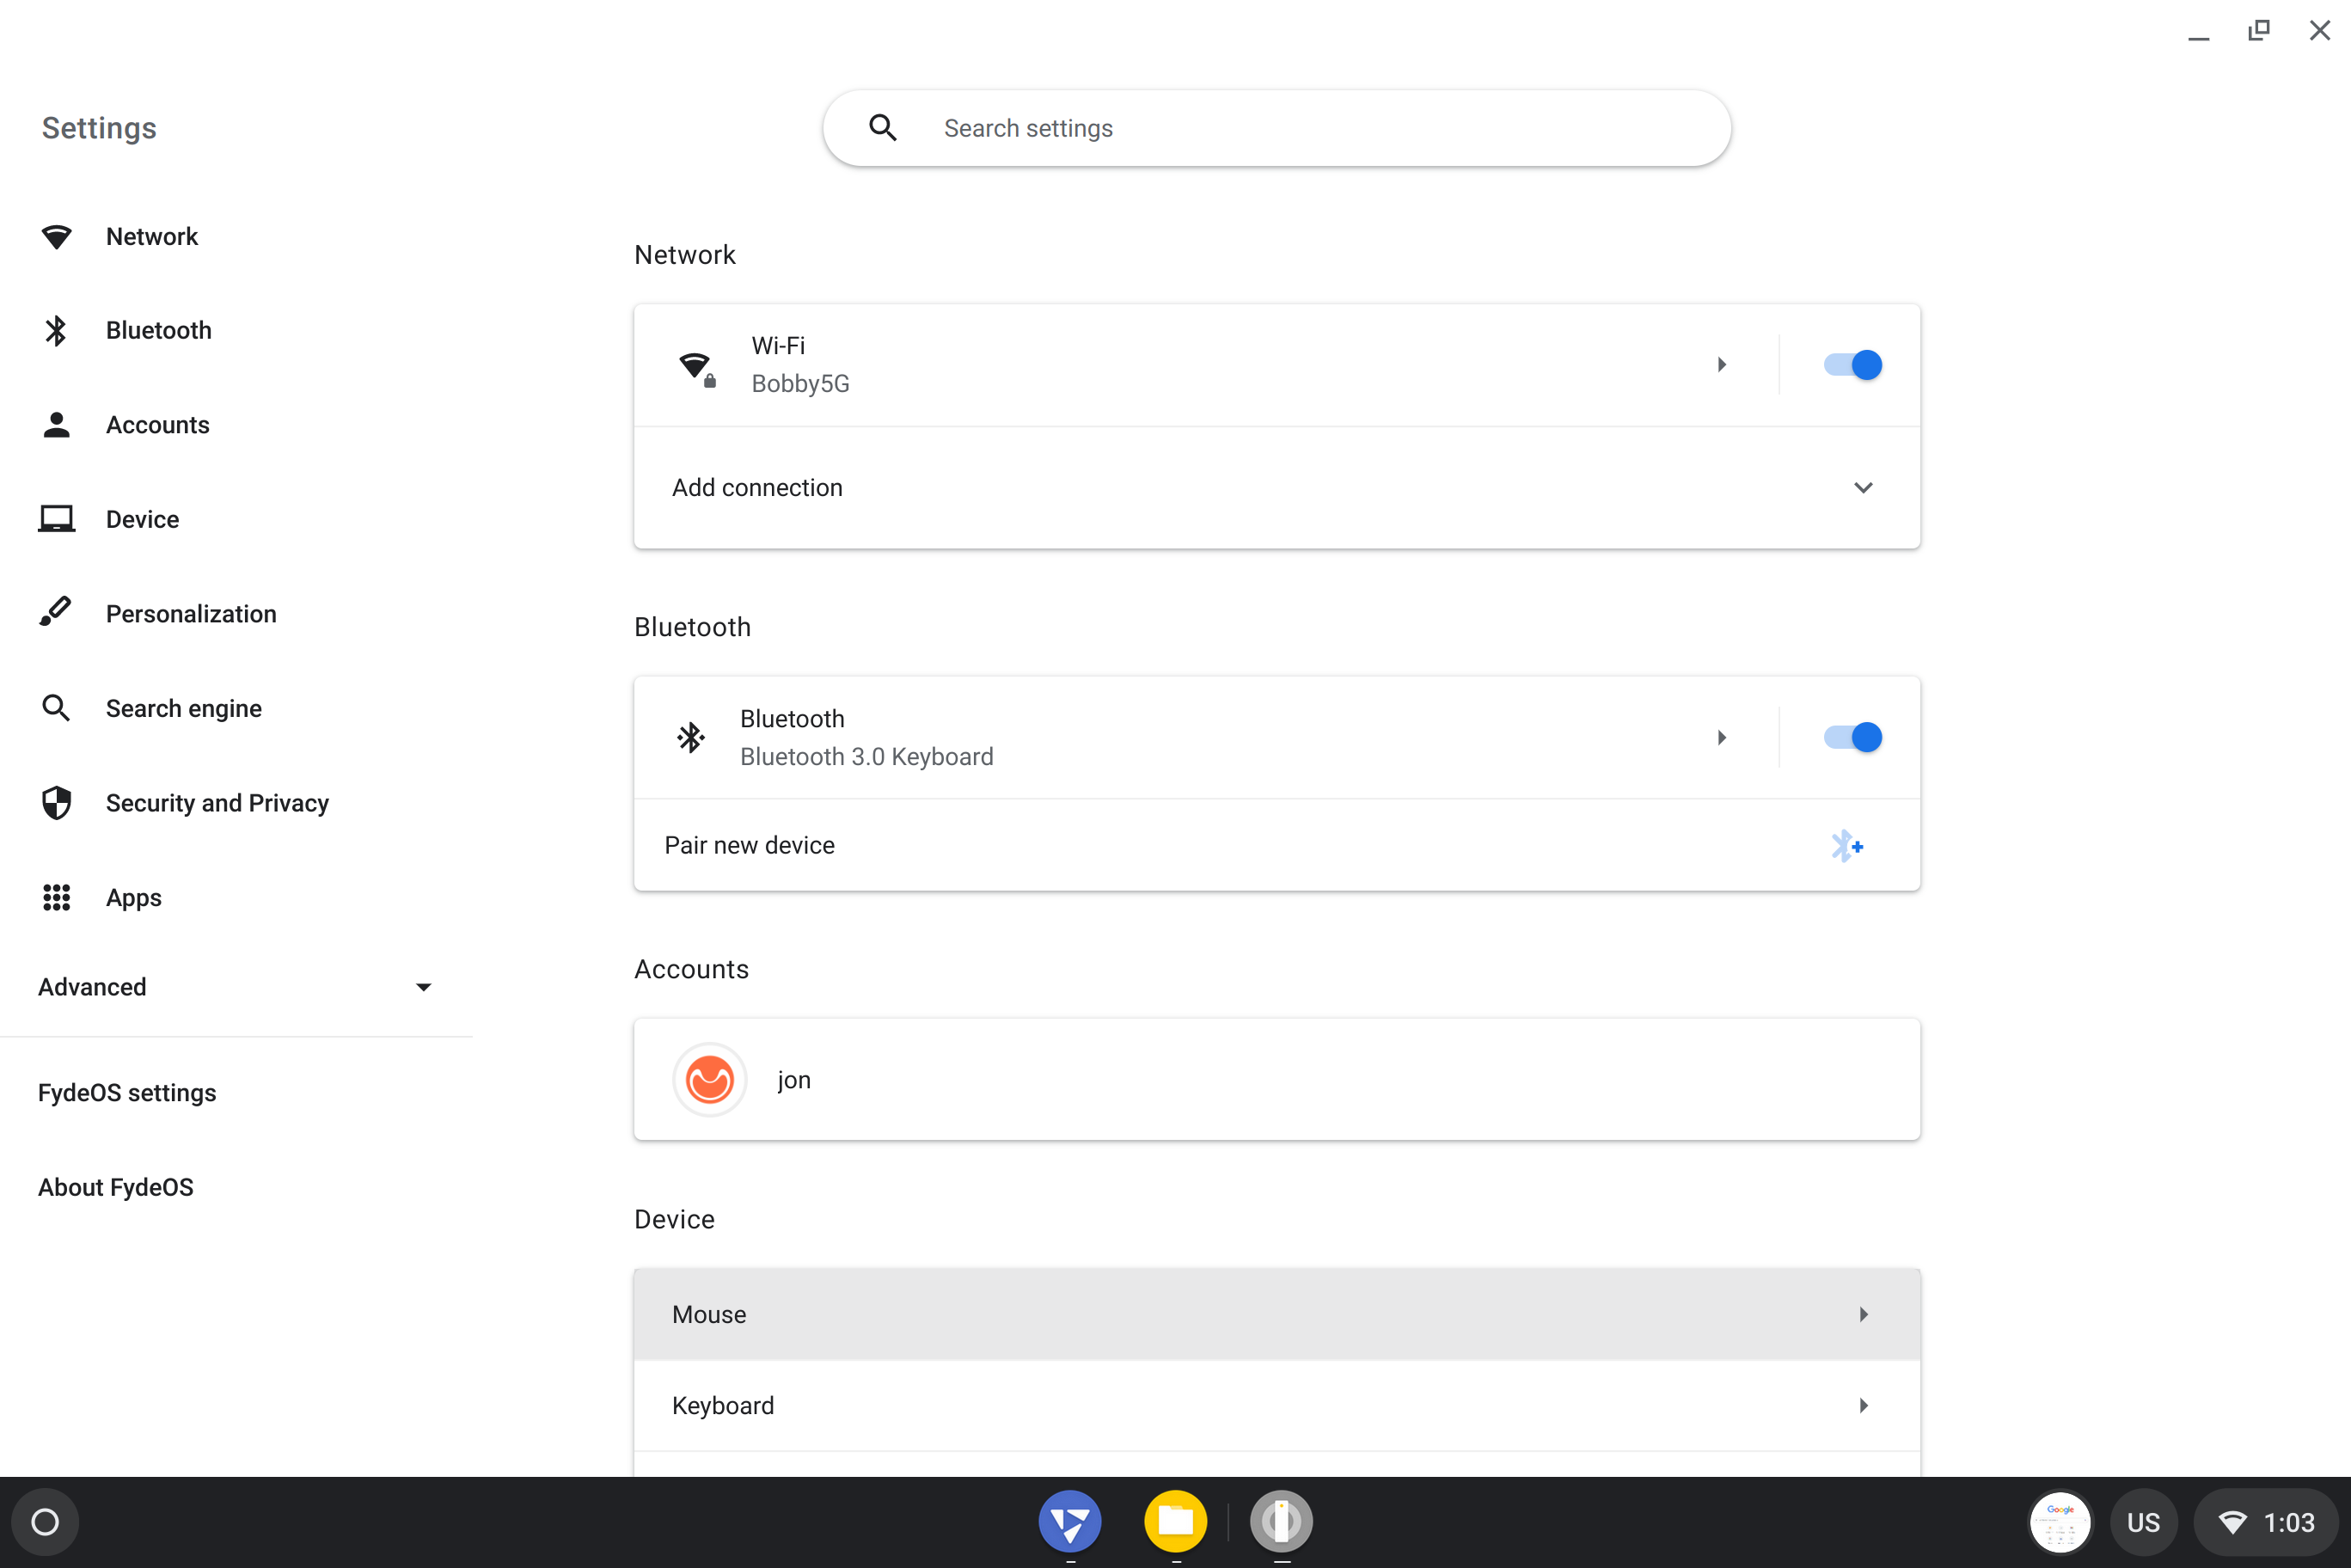
FydeOS

Screenshots
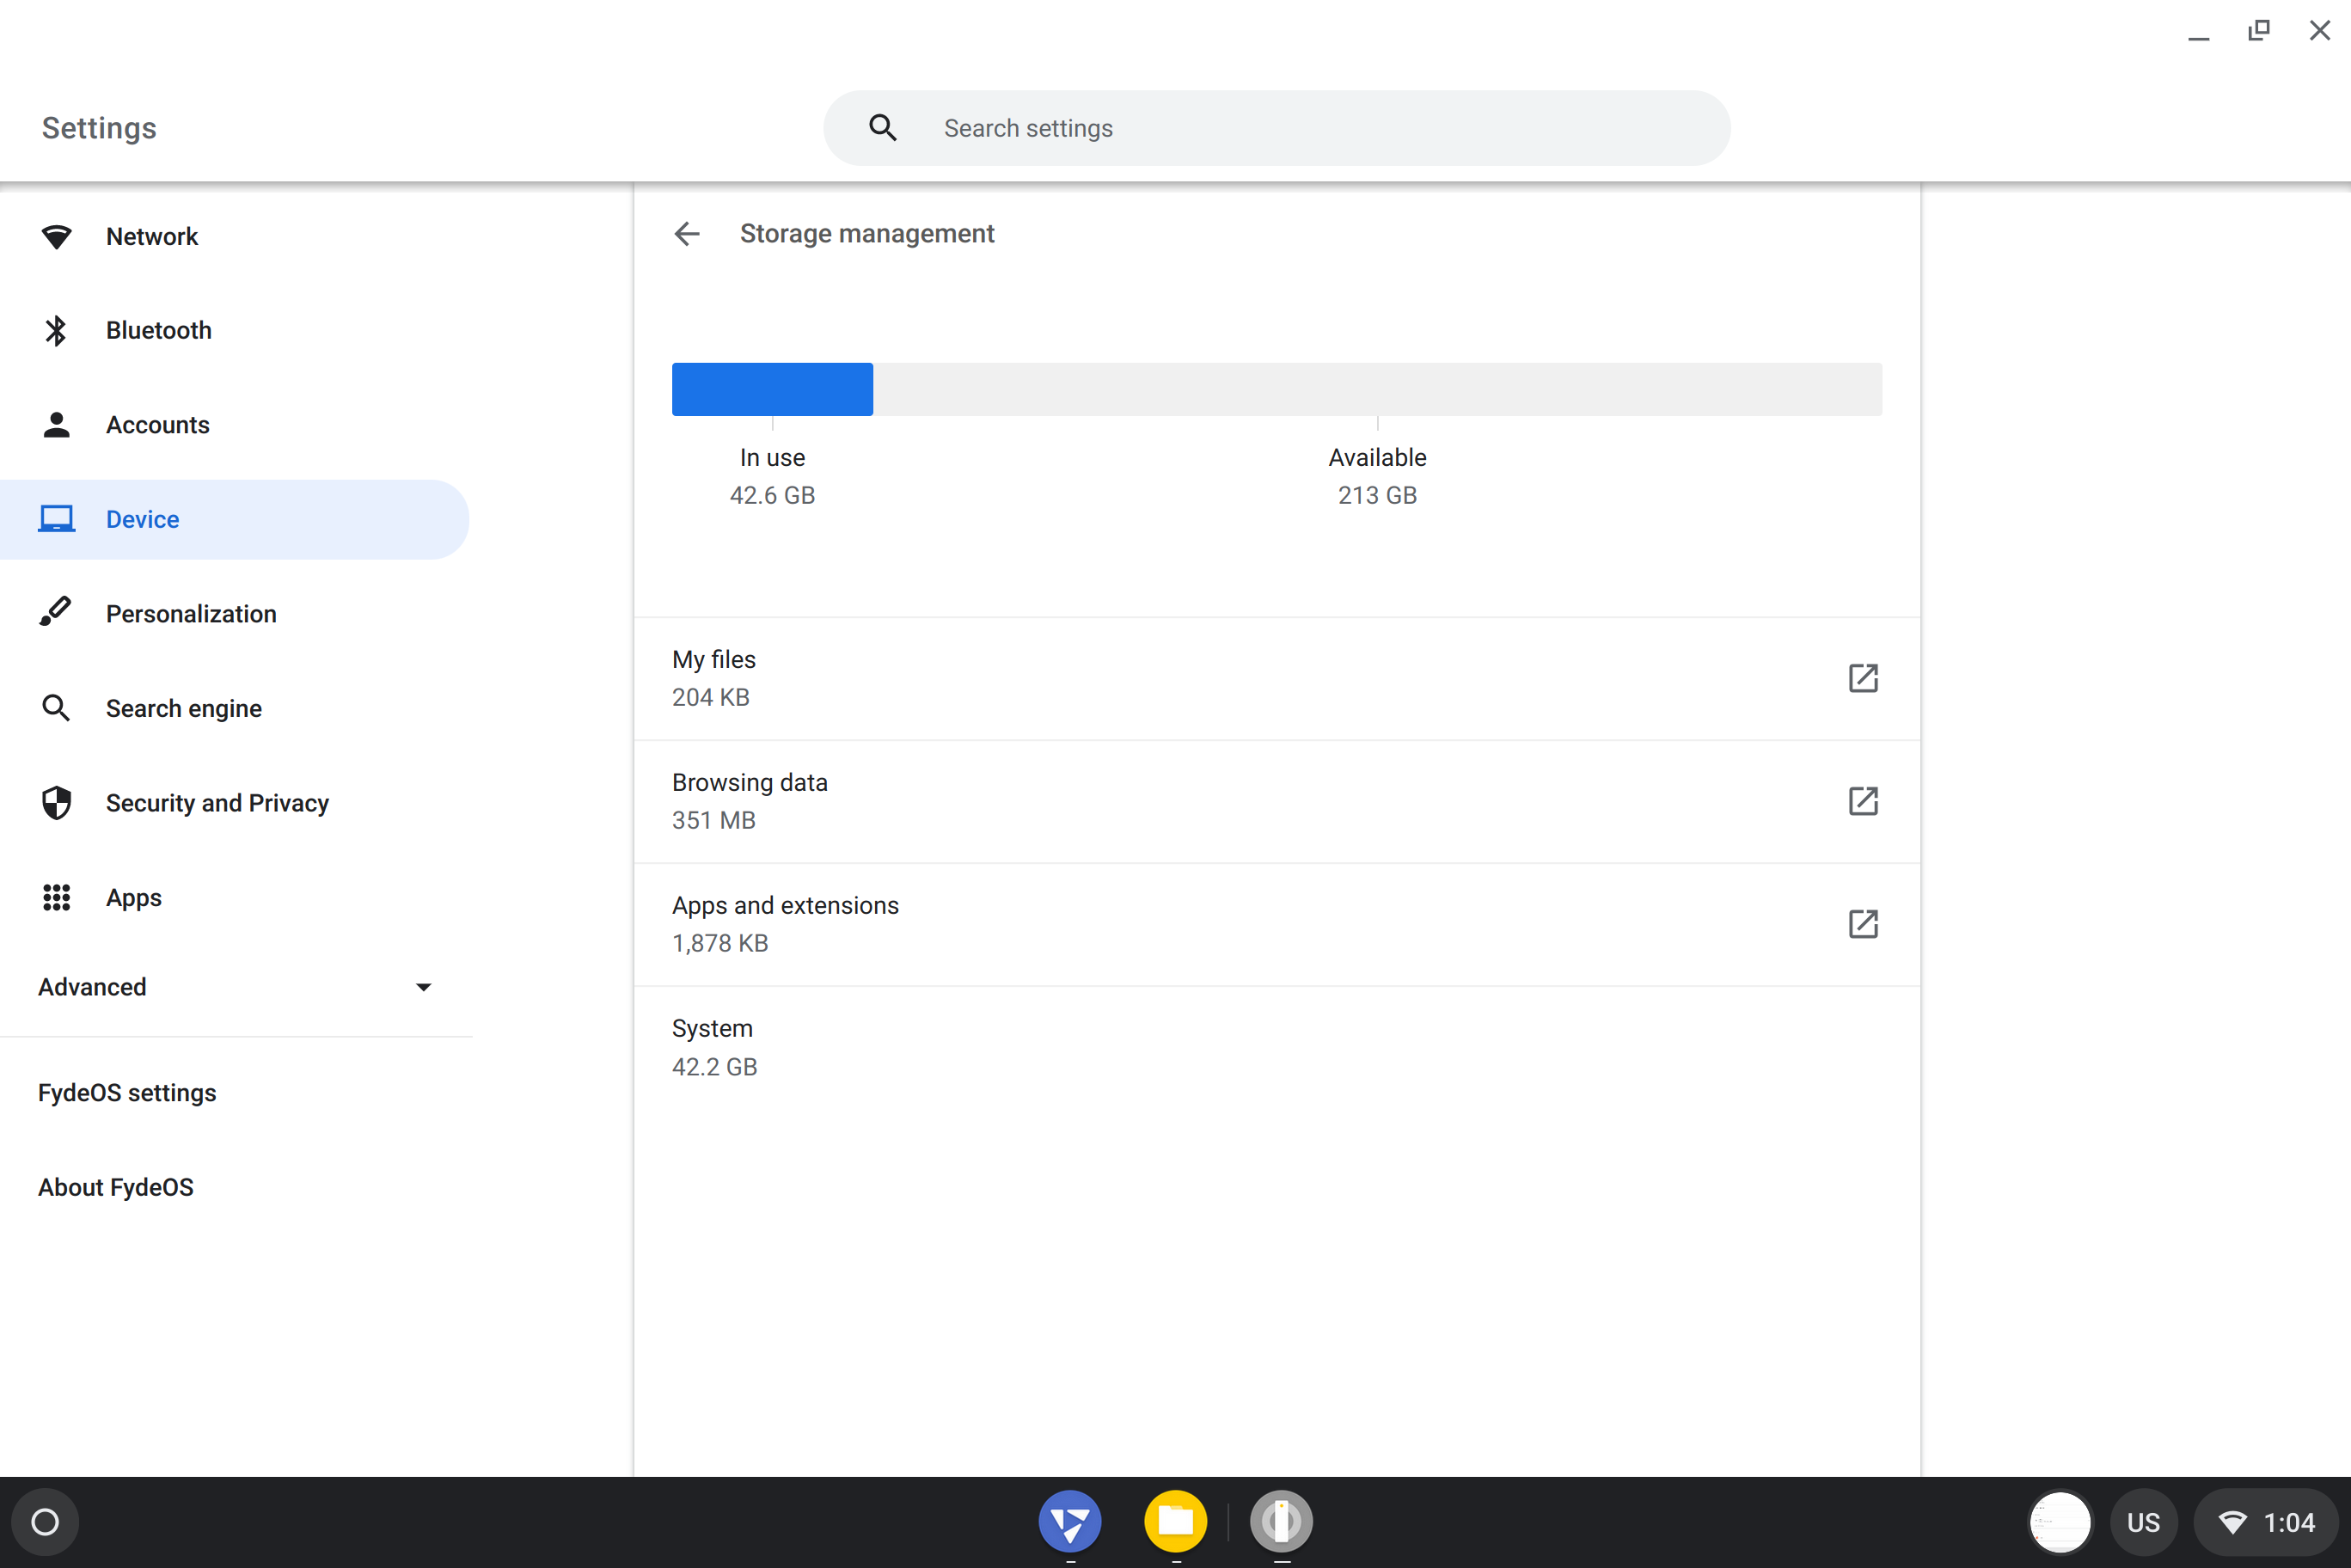
Chrom OS Flex
Create the Chrome OS Flex Install Drive
1. Open the Chrome browser on your PC, not necessarily the computer you wish to install Chrome OS Flex on.
2. Install the Chromebook Recovery Utility extension from the Chrome Web Store.
3. Click on the Extensions, then select Manage Extension via the three dots next to Chromebook Recovery Utility.
4. Slide the switch to the right to ensure that the extension is On
5. Click on Extensions, and then Chromebook Recovery Utility to load the installer.
6. Click on Get Started to start the installation.
7. Click on “Select a model from a list”.
8. Choose “Google Chrome OS Flex” and “Chrome OS Flex” from the dropdown menu
9. Insert your USB drive, select it from the dropdown menu and click Continue.
10. Click Create now to download and write the OS to the USB drive. Double check that the correct drive has been selected before clicking Continue.
11. When the installation is complete, click on Ok to close the Chromebook Recovery Utility application.
12. Remove the USB drive from the computer.
Installing Chrome OS Flex
1. Insert the USB drive into the laptop / desktop that you wish to install to.
2. Power on and select the USB drive as your boot device. Every machine handles this a little differently, please consult the manual for your machine.
3. Select your location and then click Get started to install.
4. Connect to your Wi-Fi access point and click Next. Alternatively, connect an Ethernet cable to automatically connect.
5. Accept Google’s Terms of Service to continue.
6. Select who will be using Chrome OS Flex and click Next.
7. Enter your Google account details and click Next. This will link this device with your Google account, it will also trigger a series of security settings to verify the inclusion of the device. This will differ depending on how your account has been configured.
9. Check or uncheck the box to allow Google to collect hardware data, then click Accept and continue.
10. Choose how Google Assistant will integrate with your device. Our device has no microphone or camera so we skipped these screens.
11. Click Get Started to finish the installation.
Your new Chrome OS Flex device is ready to use.
Brunch Project
Limitation from above solutions:
Chrome OS cannot be installed directly to PC due to hardware compatibility. Some hardware, e.g. the Intel Precise Touch Screen of Surface Pro, even requires special driver. Moreover, Chrome OS, or Android, are built to install on the entire disk (not a partition).
Brunch Solution
'brunch' is a framework project featuring these problems by including support for PC hardwares and installing Chrome OS on a .img disk mirror file.
- Rammus recovery bin from CrOS Updates Serving
Videos
via Blogger http://blog.51sec.org/2023/01/install-nix-os-to-microsoft-surface-pro.html
January 14, 2023 at 12:28PM Linux
 RSS Feed
